Culling and editing
Crop and straighten
Crop in the photo window, on the Crop tab. The original file is never changed: the crop is applied when the photo is exported or sent.
Start a crop
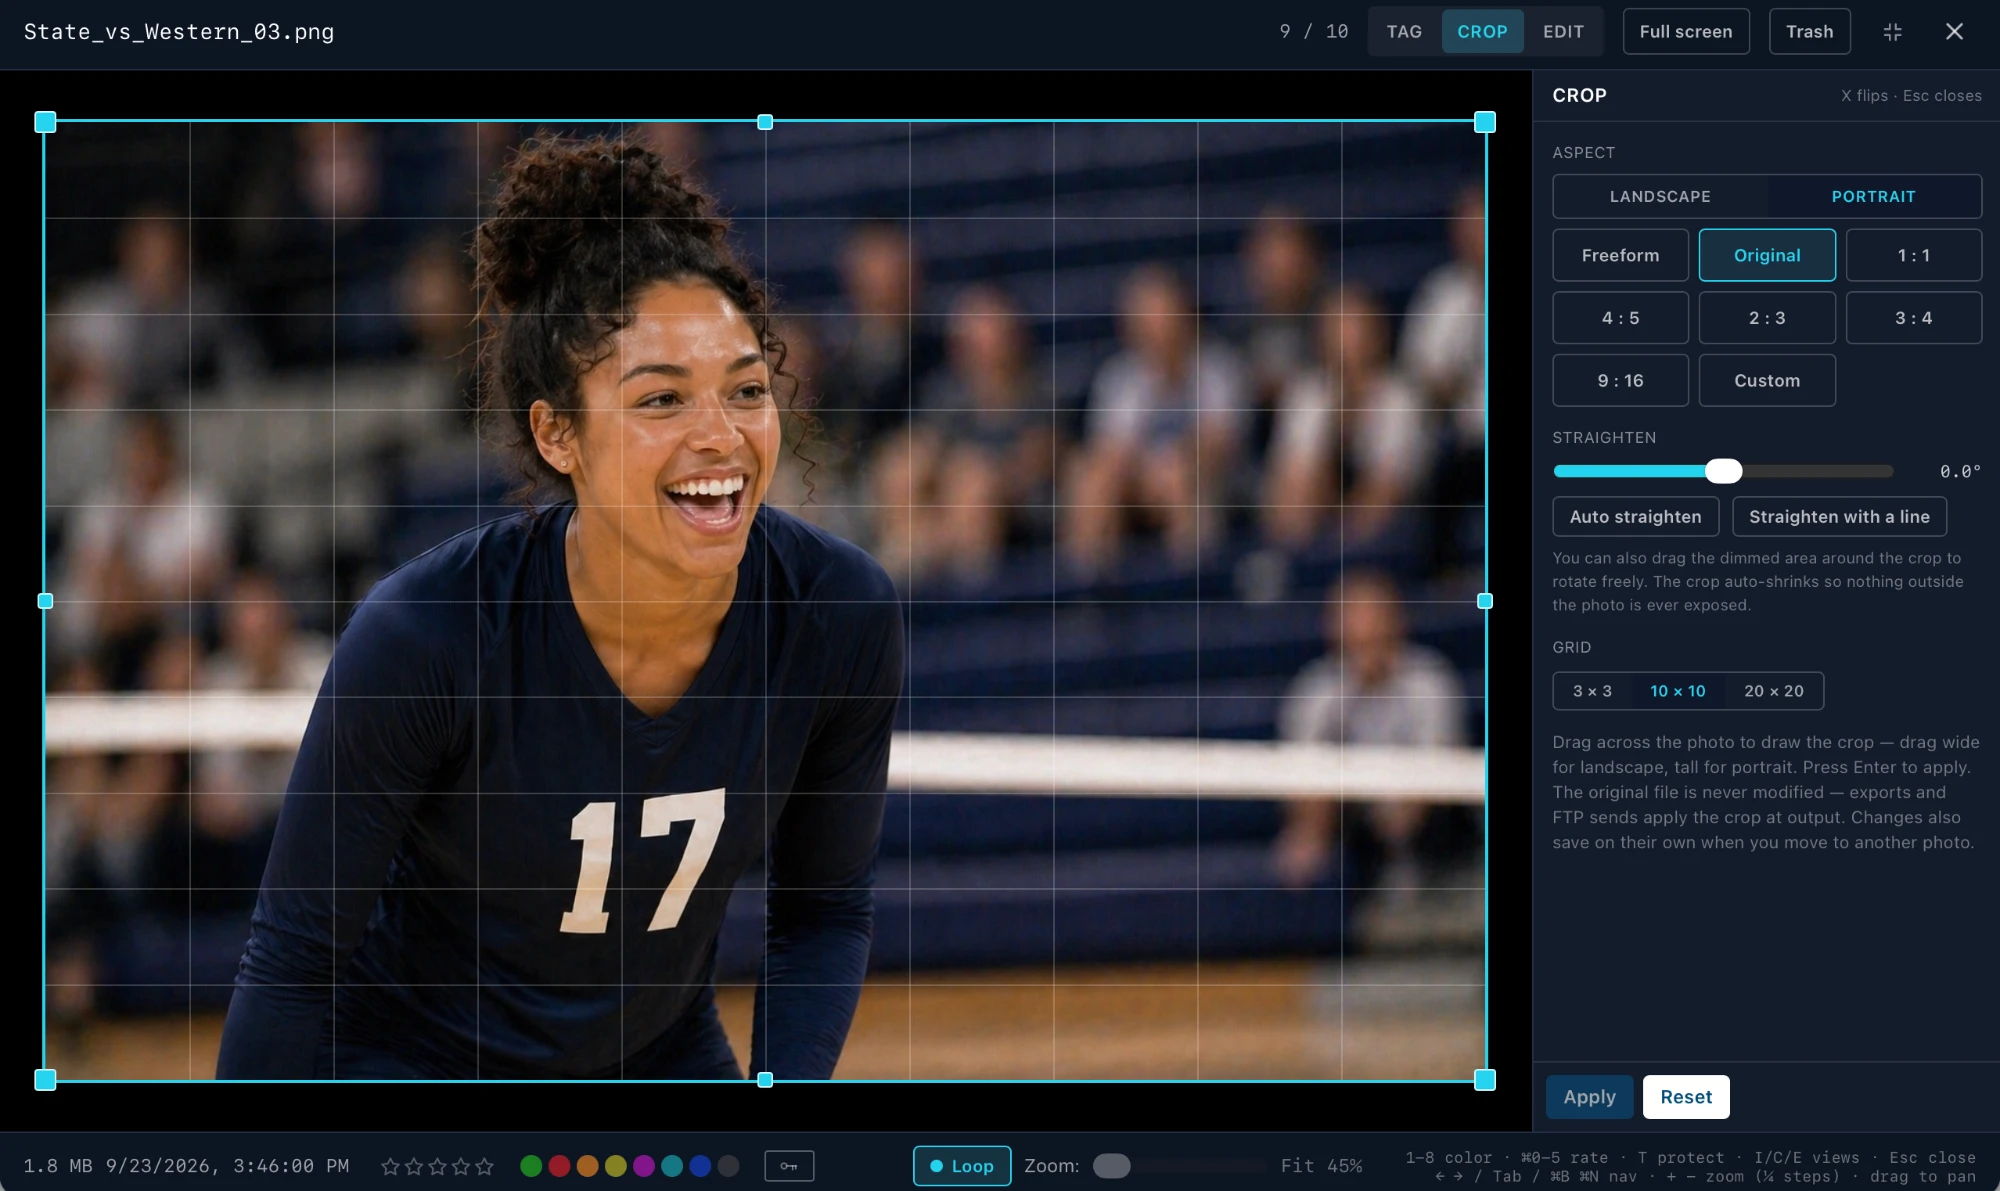
- 1
Open the photo
Select it in Browse and press I or Enter. - 2
Press C
Or click CROP at the top. E goes to Edit, I back to Tag. - 3
Frame it
Drag inside the box to move it. Pull an edge or a corner to resize. With no crop yet, drag across the photo to draw one. - 4
Press Enter
Or Apply. The Cropped badge and the thumbnail in Browse update straight away.
RAW files, video and audio open on the Tag view only. There’s no crop for them in Desktop.
Aspect
| Control | What it does |
|---|---|
| Landscape / Portrait | Sets how each ratio is read. On Portrait, 4 : 5 means 4 wide by 5 tall. It sticks from photo to photo, so a run of verticals is one click. X switches it. |
| Freeform | No fixed ratio. |
| Original | The photo's own shape. |
| 1 : 1, 4 : 5, 2 : 3, 3 : 4, 9 : 16 | Locks the box to that shape. |
| Custom | Type your own two sides. |
Grid
3 × 3 is the rule of thirds. 10 × 10 and 20 × 20 are finer, for lining up edges. The grid you pick stays for the next photo.
Straighten
Four ways, all on the same rotation:
- •The slider, for fine moves. The 0° link beside the angle puts it back to level.
- •Auto straighten finds a horizon or a vertical and levels to it. Press it again to undo.
- •Straighten with a line: drag along something that should be level or plumb, such as a net, a goalpost or the horizon, and the photo rotates to match. Esc cancels.
- •Drag the dimmed area outside the crop to rotate freely.
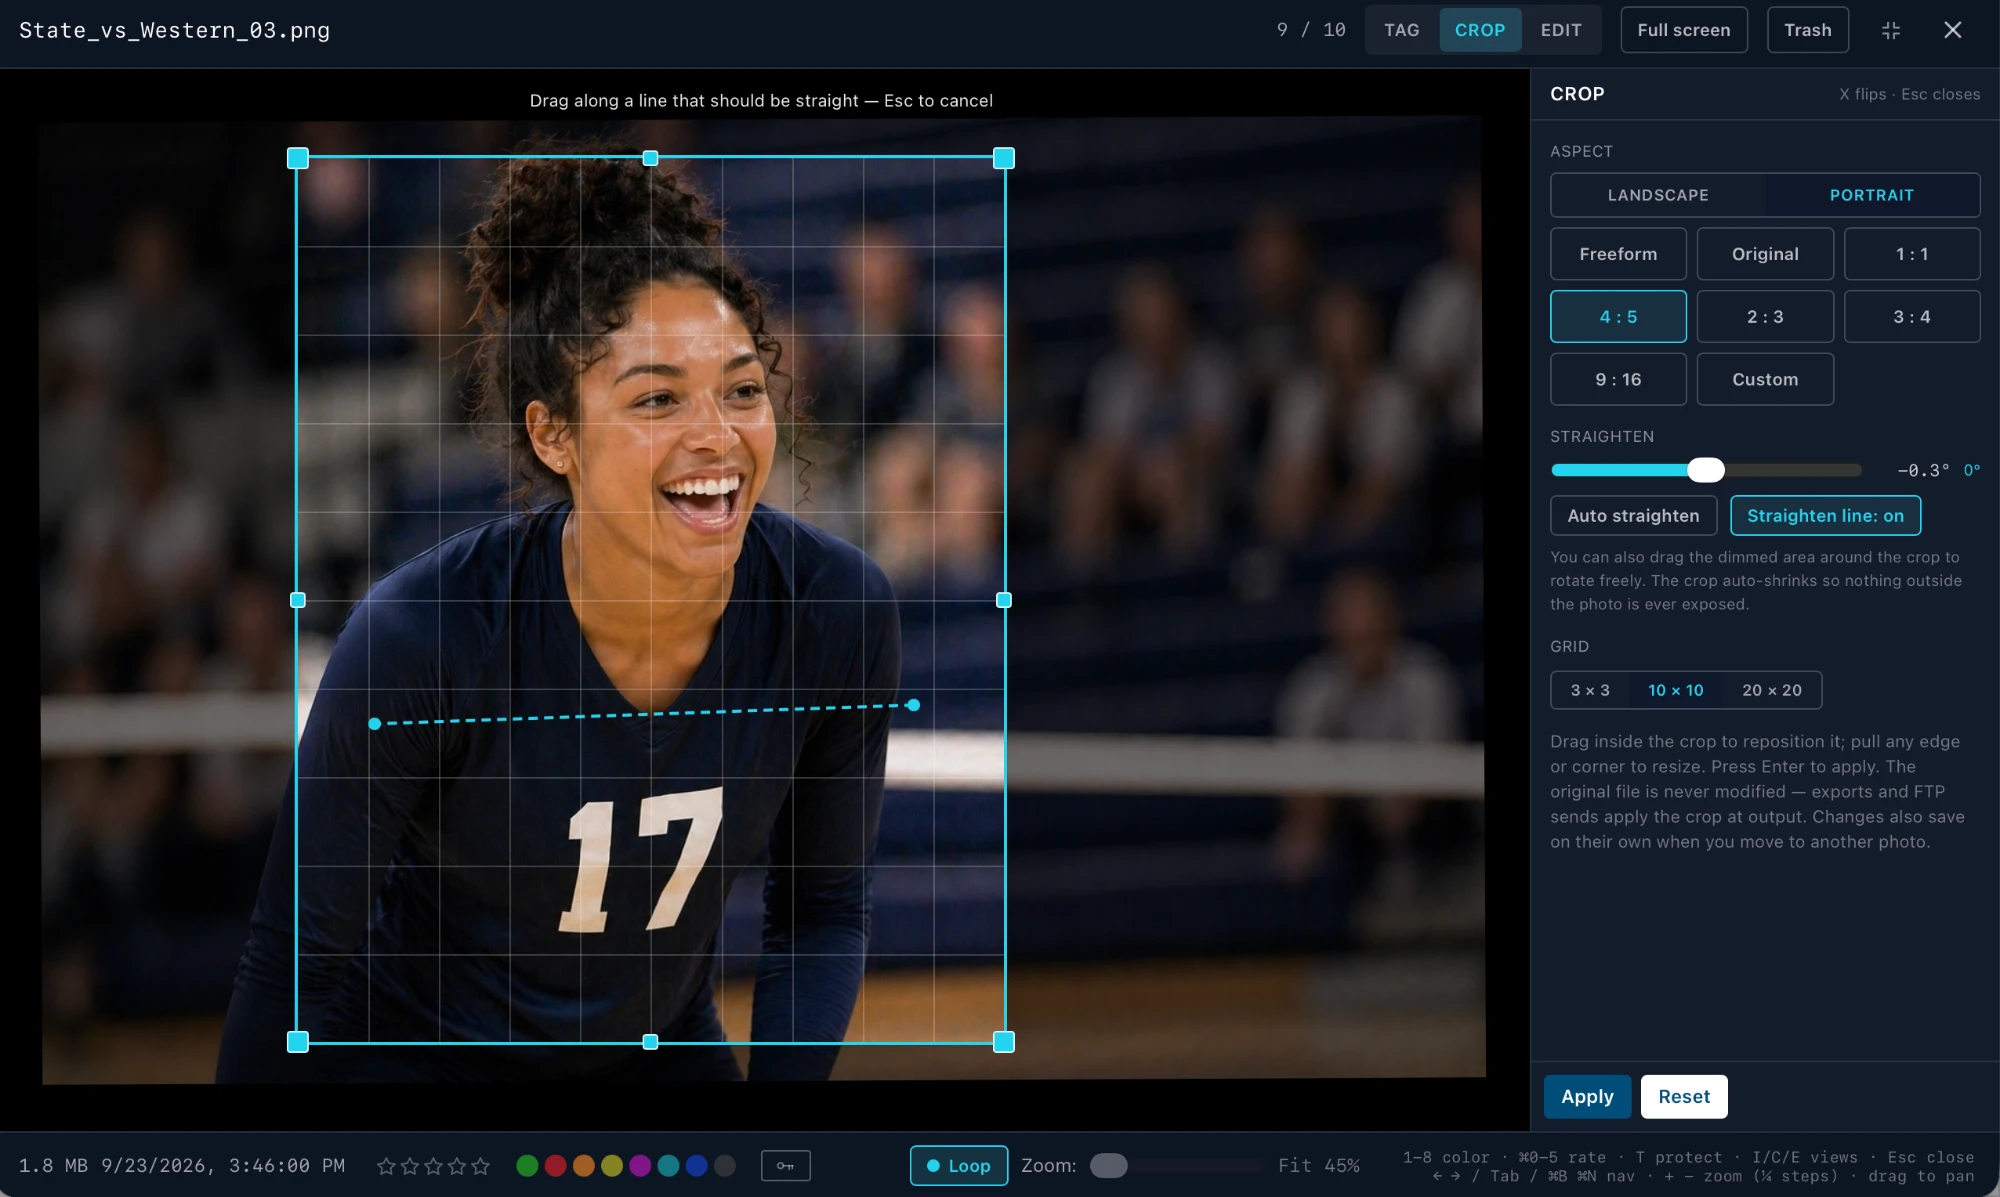
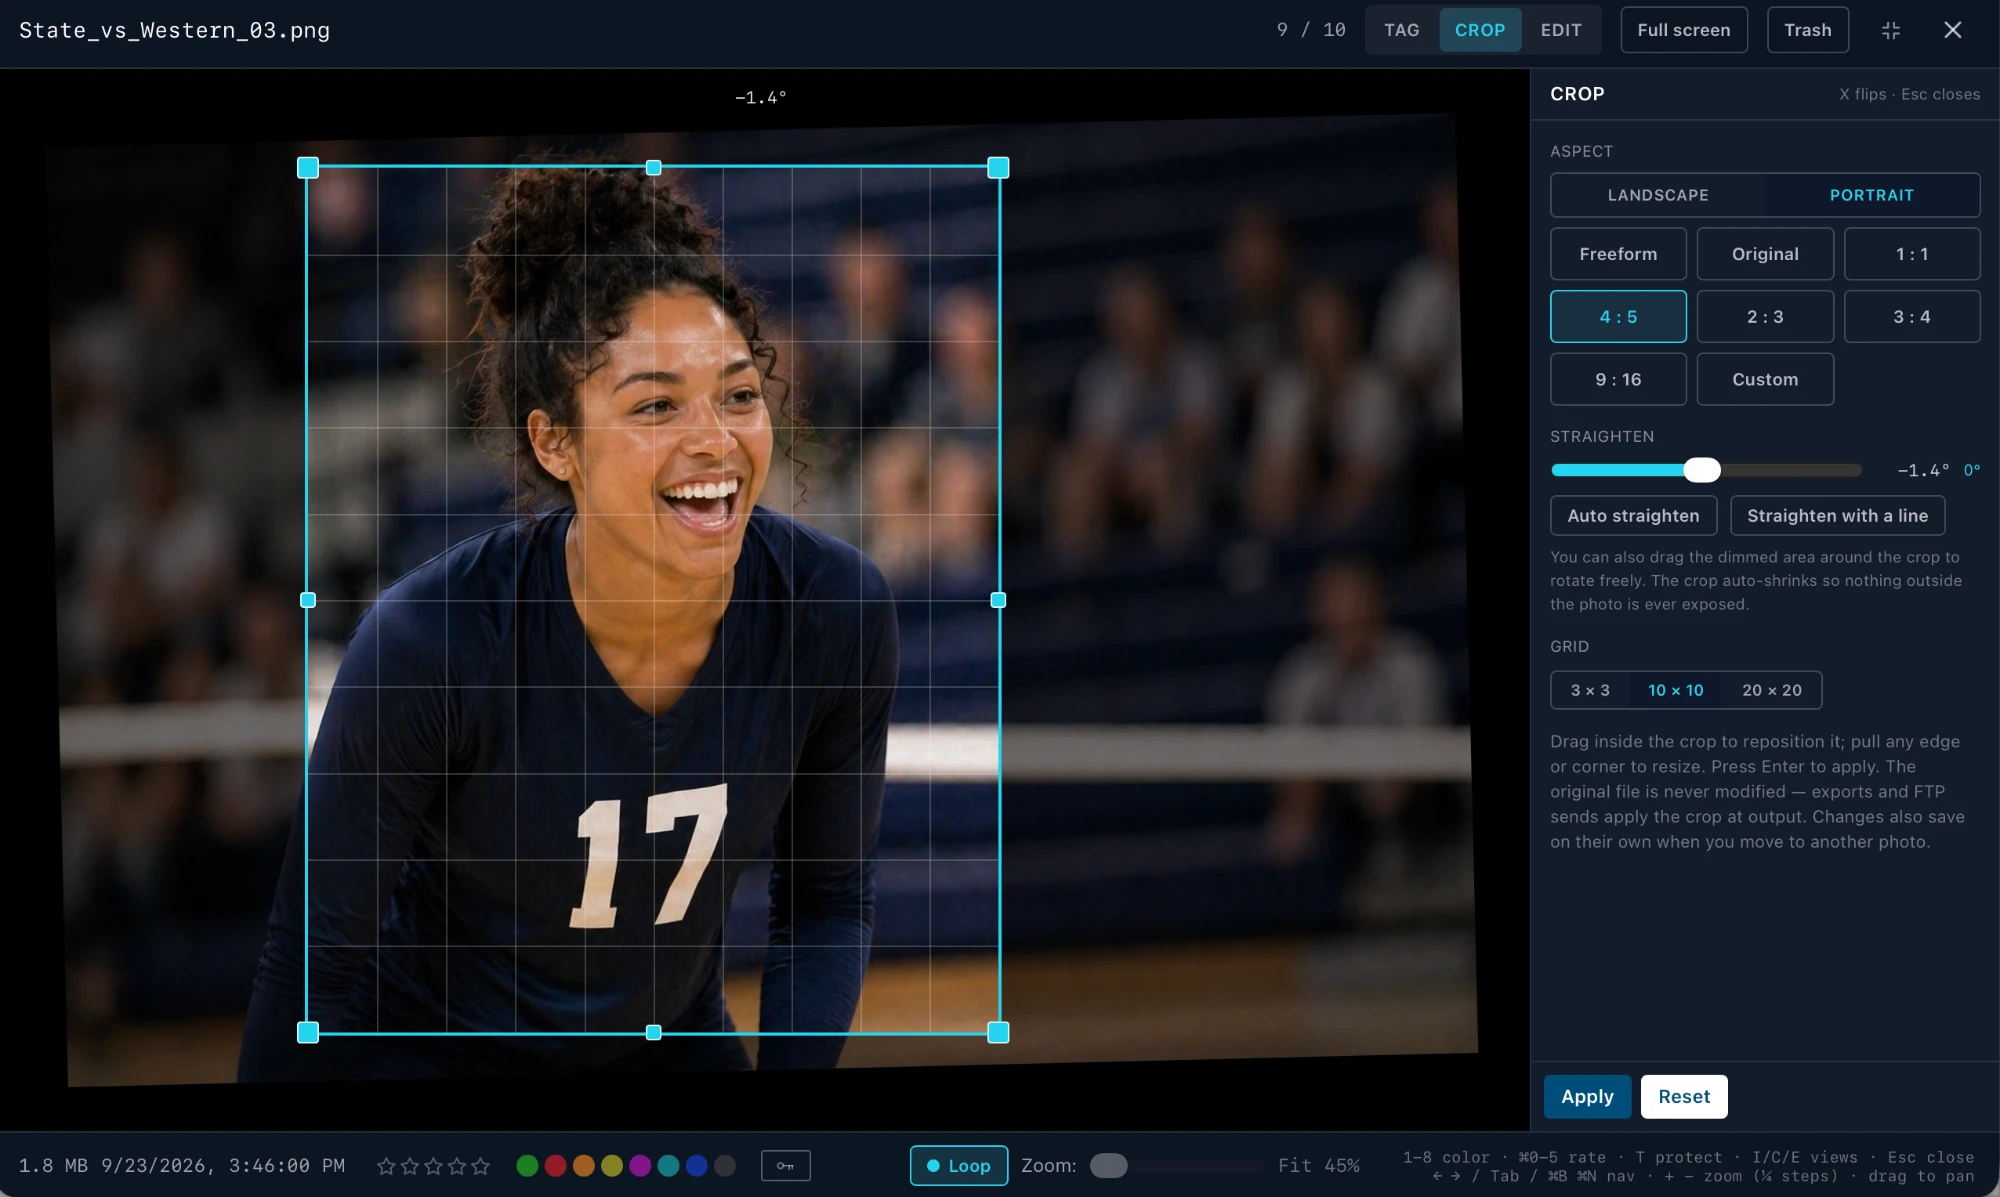
On a busy frame, the line is the reliable one. Auto straighten has to guess which edge you meant.
Apply, Reset, Remove
| Button | What it does |
|---|---|
| Apply | Saves the crop now (Enter). It also saves by itself when you move to another photo or close the window. |
| Reset | Puts the crop back how it was when you opened this photo. |
| Remove Crop | Shows once a photo has a saved crop. Deletes it, so the photo goes out uncropped. |
Exports and FTP sends apply the crop to the copy they write. The file on your drive keeps its full frame.