Culling and editing
Adjust tone and colour
A quick exposure and colour pass before you send. Edits apply to the copy you export or send, never to the original file.
Open the Edit view
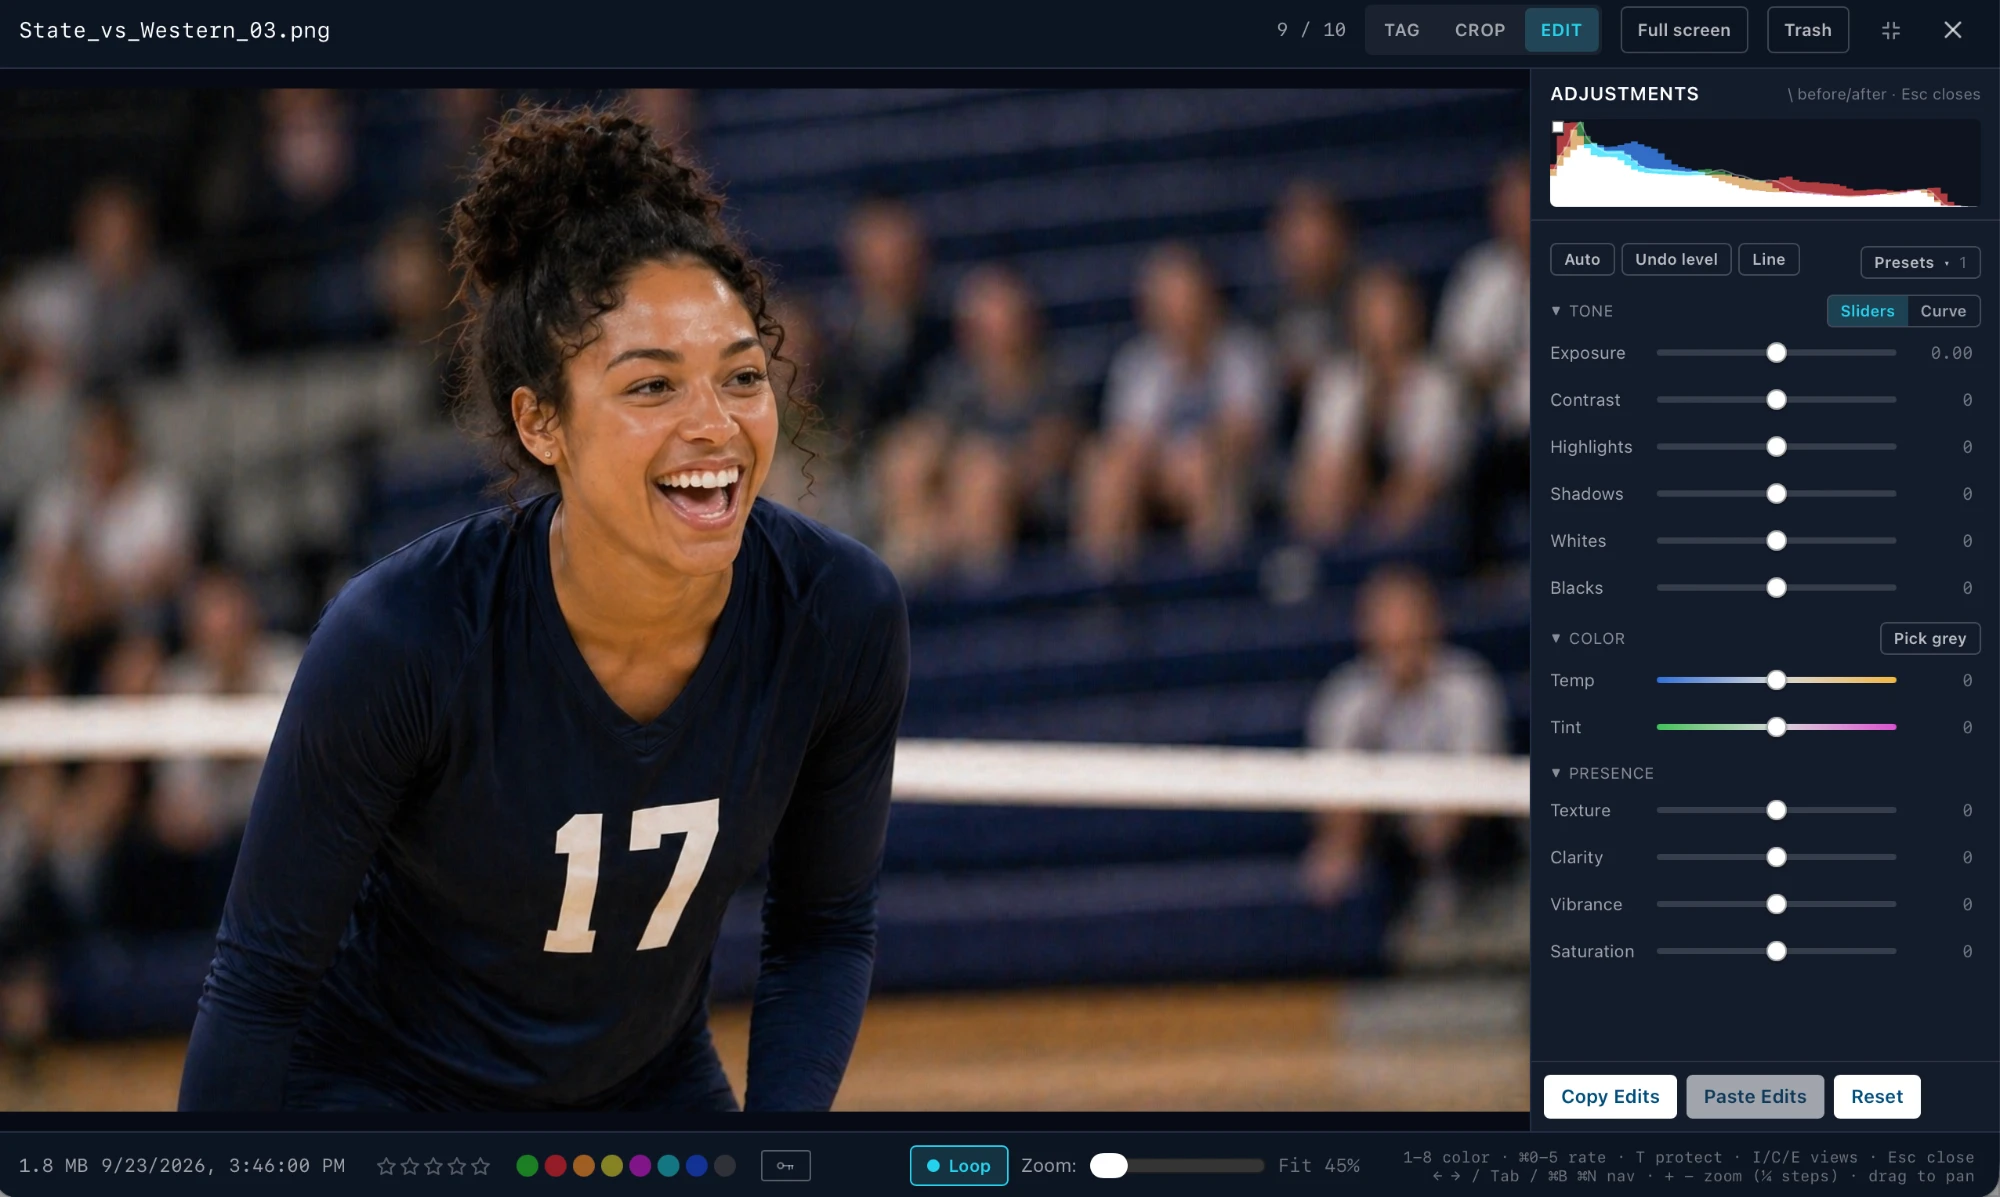
- •In the photo window, press E or click EDIT.
- •There’s no Apply button. Your values are saved when you move to another photo or close the window.
- •Hold \ to see the photo before your edits. Esc closes the window.
RAW files open on the Tag view only. The Edit and Crop tabs don’t appear for them.
Histogram and quick fixes
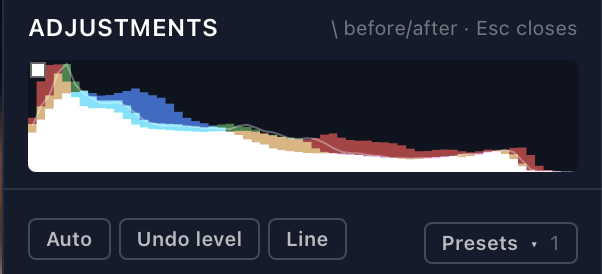
The histogram shows the photo as it will go out. The small squares in its top corners warn of clipping: shadows on the left, highlights on the right, white when all three channels are gone. Hover one for the percentage.
| Button | What it does |
|---|---|
| Auto | Sets the sliders from this photo's histogram. A starting point, not the answer. |
| Level | Finds a horizon or a vertical and levels the photo. It reads Undo level once applied. |
| Line | Drag along something that should be level or plumb. The reliable one on a busy frame. Esc cancels. |
| Presets | Copy Edits, Paste Edits and your saved presets. The number is how many presets you've saved. |
Level and Line are the same straightening as the Crop tab. They’re here too so a quick pass doesn’t mean switching tabs.
Sliders
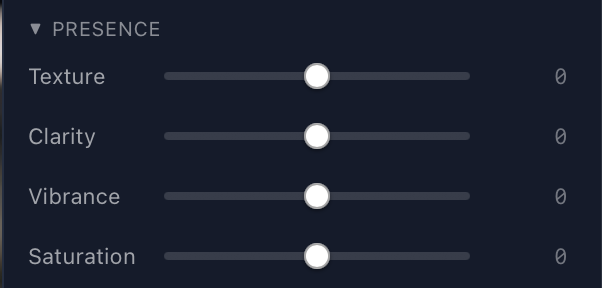
| Group | Sliders |
|---|---|
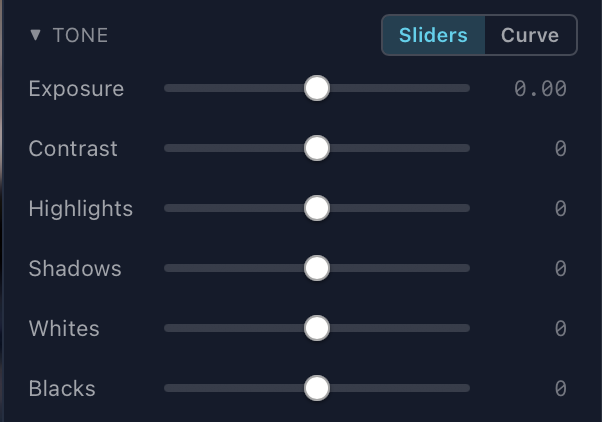
| Tone | Exposure, Contrast, Highlights, Shadows, Whites, Blacks. Curve swaps them for a point curve: click to add a point, drag to move, double-click or Delete to remove. |
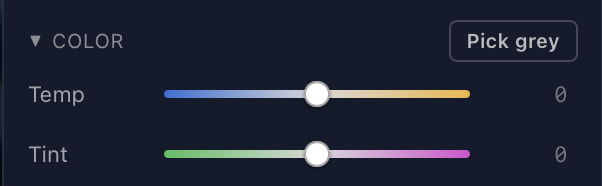
| Color | Temp and Tint. Pick grey is the white balance eyedropper: click something neutral in the photo and both set themselves. |
| Presence | Texture, Clarity, Vibrance, Saturation. |
Three ways to set a value
- •Drag the slider.
- •Click the number and type it. Enter applies.
- •Hover a slider and press ↑ or ↓. Hold Shift for bigger steps.
Double-click a label or its track to put that slider back to 0. Click a group’s title to fold it away.
Copy Edits and presets

| Button | What it does |
|---|---|
| Copy Edits | Holds this photo’s slider values (⌘C). |
| Paste Edits | Sets this photo’s sliders to match (⌘V). Greyed out until you’ve copied. |
| Reset | Sets each slider back to 0. |
| Remove Edits | Shows once a photo has saved edits. Deletes them, so the photo goes out unedited. |
Dial in one frame, copy it, then select the rest in Browse and right-click ▸ Paste Edits onto N photos. The label tells you how many already have edits it will replace.
Copy Edits copies slider values, not the file. To copy the file, use Copy to folder.
Presets
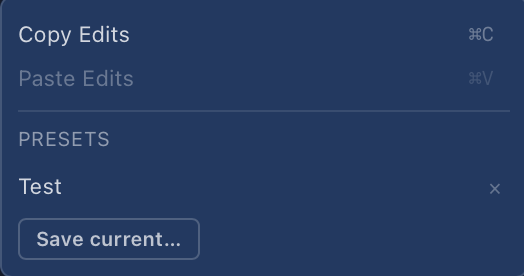
Save current… names this photo’s values so you can apply them to any photo in one click. The × deletes one. A preset fills the sliders on the photo in front of you only: use Paste Edits when a run of frames should match.